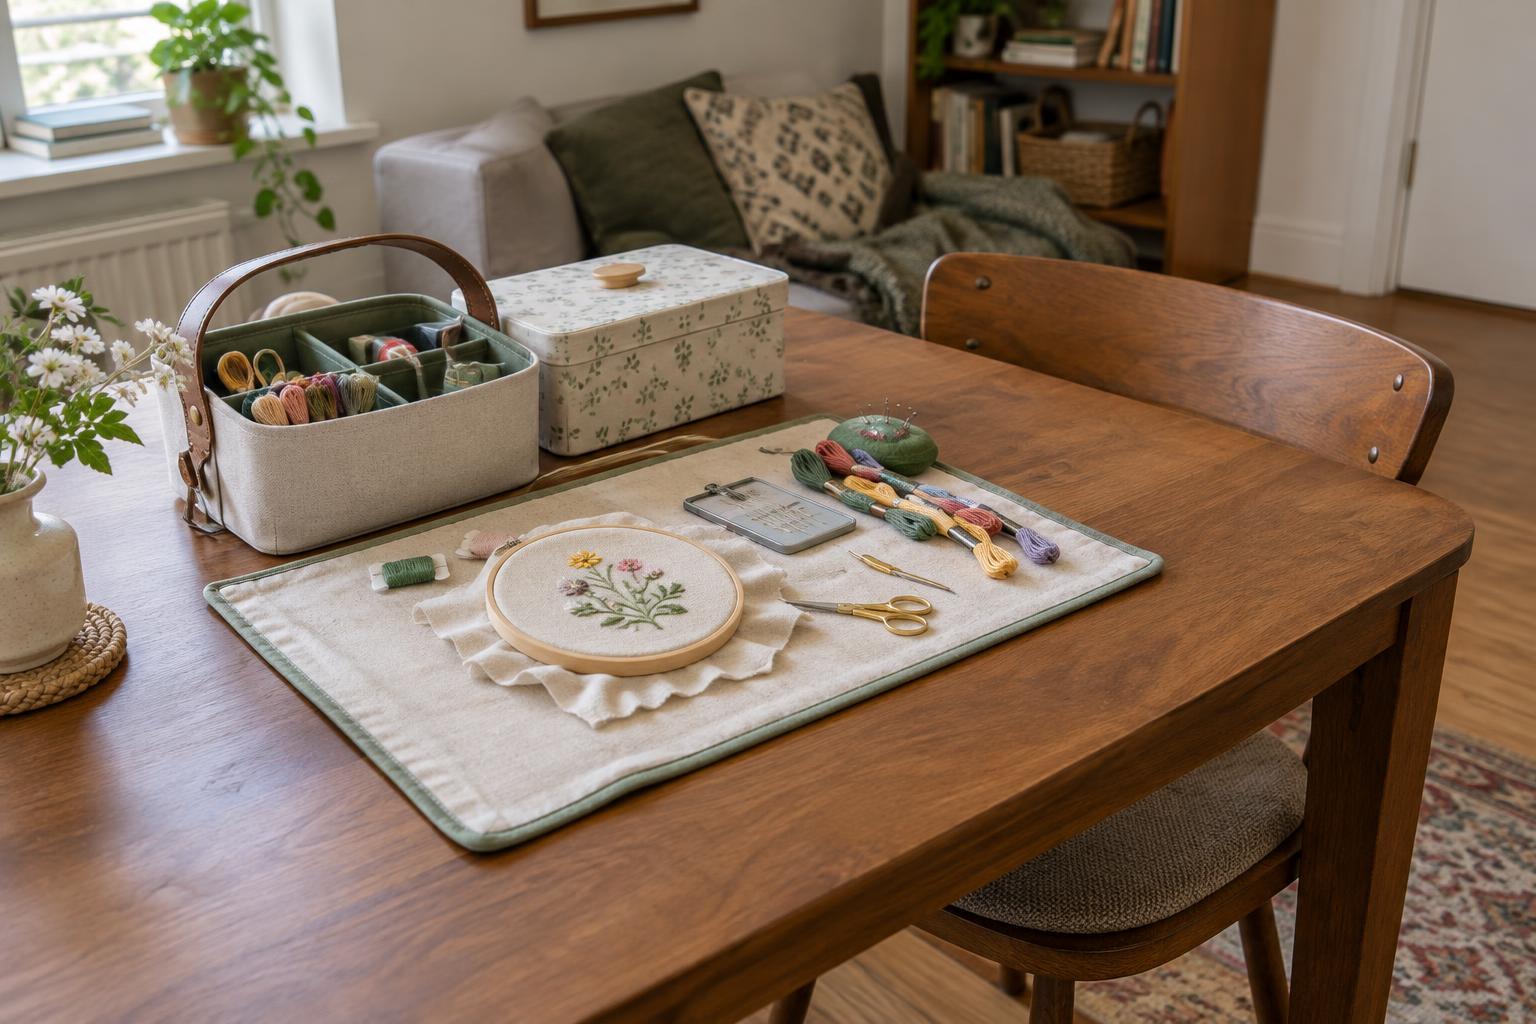
Start with the project, not the storage
A craft station in a small home works best when it supports a specific activity. A setup for mending clothes needs different supplies from one for sketching, making cards or assembling small models. Pick the project you do most often and list what you use during a typical session. Keep that kit close at hand; store occasional tools elsewhere.
Before buying containers, lay out those everyday supplies on the surface you plan to use. Notice how much room you need for your hands and the work itself, not just for the materials. If your dining table doubles as a desk, leave enough clear space to use it for those jobs too. A station that takes over every inch may be difficult to maintain.
Choose a work surface you can reset
A table you already own is often more useful than a new piece of furniture. Protect it with a washable mat, a cutting mat suited to your activity or a tray that catches small pieces. Check that the protection is appropriate for your tools: a thin placemat, for example, will not make a surface safe for cutting or heat.
Give your project a boundary so it can move when another task needs the table. A shallow tray can hold a drawing in progress; a lidded box can hold fabric pieces and the thread chosen for a repair. For a larger project, take a quick photo before packing up so you can restore the layout next time. The goal is not to finish everything in one sitting. It is to make stopping and restarting manageable.
Pack supplies by how often you reach for them
Put frequently used tools in one portable container that you can lift with one hand. Smaller cups or pouches inside it can keep pens, needles or fasteners from mixing together. Store bulky or rarely used materials separately, preferably where you can see or label what you have without unpacking a stack of boxes.
Avoid filling a container simply because it fits the shelf. Leave a little room for works in progress, and choose a storage spot you can reach without moving furniture. If you use paint, adhesives or sharp tools, follow their packaging directions and keep them secure from children and pets. A compact setup should make supplies easier to handle, not merely hide them.
Make cleanup part of the setup
Keep a small waste container, cloth and any activity-specific cleanup supplies near the station. At the end of a session, collect loose pieces first, close containers, then clear and wipe the shared surface as needed. This order helps prevent tiny items from being brushed onto the floor.
Try a full setup-and-pack-away cycle before deciding where everything belongs. If you repeatedly leave one tool out because its storage spot is awkward, change the spot. If packing away means sorting dozens of loose items, add a smaller pouch or divider. Your first arrangement does not need to be perfect; it needs to be simple enough that you will use it again.
Plan separately for displaying finished work
Making something and displaying it are different tasks. Keep display supplies such as stands, packaging and signs out of your everyday craft kit unless you use them regularly. If you occasionally bring projects to a community event, you can browse Stoiska i wydarzenia · Reklama w Przestrzeni for ideas about event displays without letting those materials crowd your work surface at home.
For printed project cards or simple packaging, browse Druk i materiały · Reklama w Przestrzeni when you are ready to think about materials; keep test prints in a separate folder rather than mixed with active projects. If you make labels or signs, browse Projektowanie i czytelność · Reklama w Przestrzeni for further ideas about presentation and readability. Then return to the small-home rule that makes the station useful: only the supplies for today’s work need a place on the table.