Start with the park’s official information
A park can be close to home and still require more planning than expected. Before choosing a trail or packing lunch, find the park’s official website or visitor information page. Check the hours for the specific entrance, area or facility you want to use. A park may be open while a visitor center, swimming area or particular trail is not. Look for posted alerts, then check again shortly before leaving; access and conditions can change.
Write down the park’s address and the entrance you intend to use. A search result for the park name may lead to an office or a different gate. If the website leaves a question unanswered, use the park’s listed contact details rather than relying on an old review. Save a map or directions before you go in case mobile service is unreliable.
Work out the full cost, not just the entry fee
Look for separate charges for admission, parking and activities. Fees may depend on whether you arrive on foot or by vehicle, how many people are in your group, or which area you visit. If you have a pass, check that it covers this park and the charge you expect it to cover. Also confirm accepted payment methods; a pay station may not offer the same options as a staffed entrance.
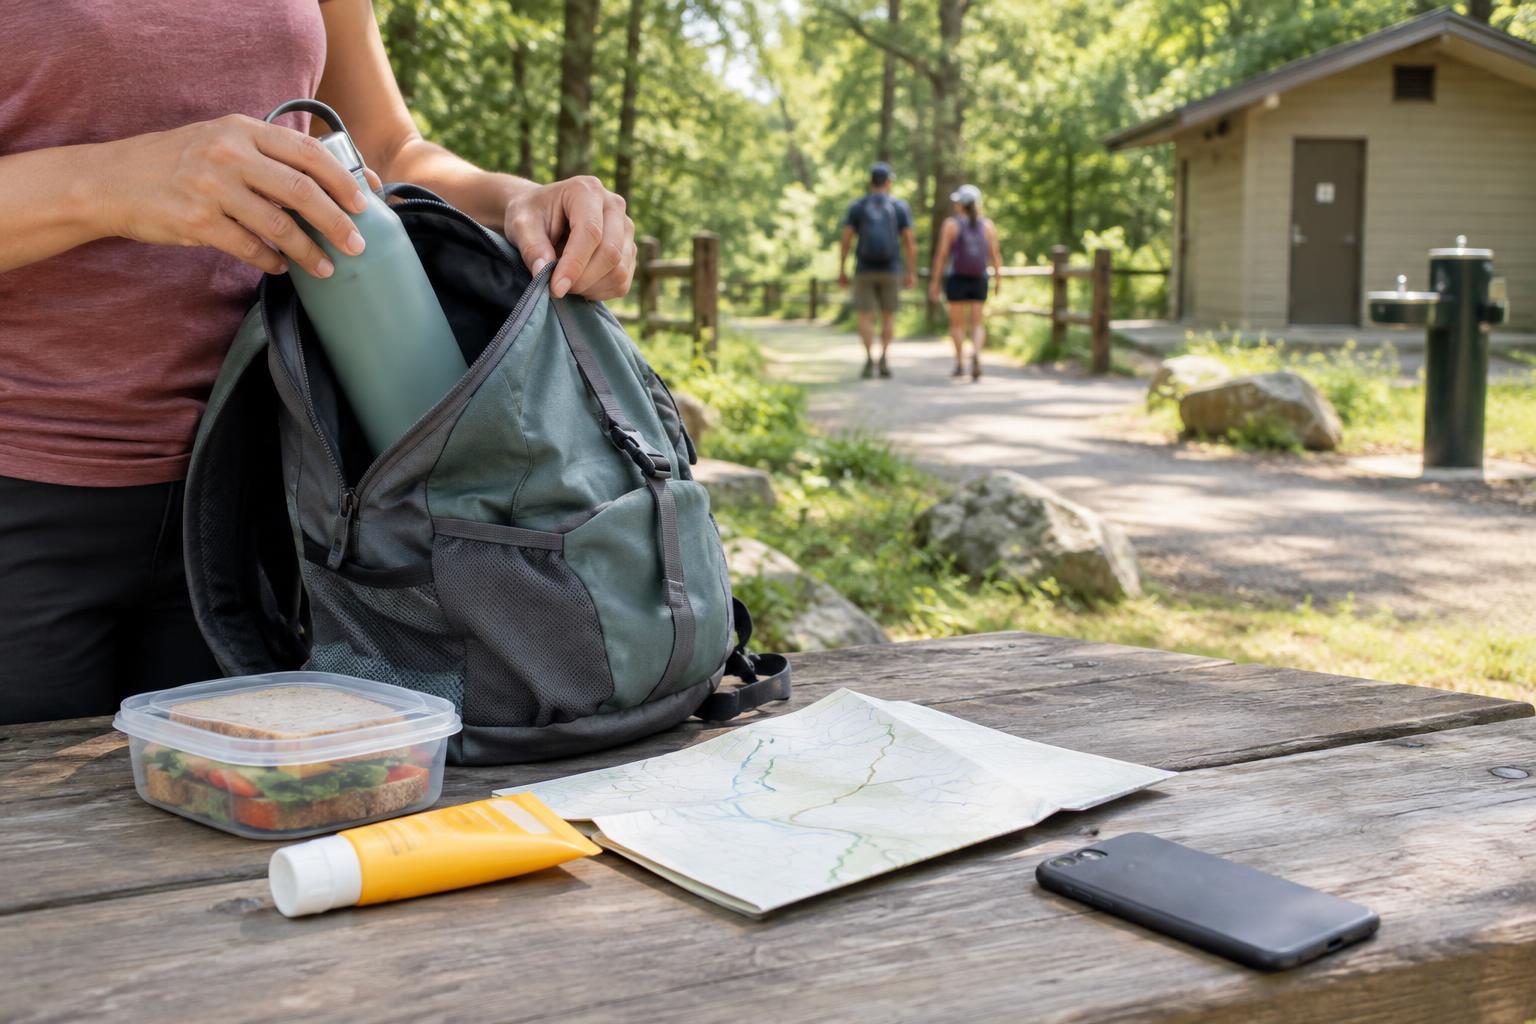
A quick budget can be as simple as four lines in your notes app: entry, parking, planned activities and food. Add the cost of getting there if it matters to your budget. Packing water and a picnic may make the day more affordable, but first check the park’s rules on outside food, grills and waste disposal. Keep a little room in the plan for an unexpected change, such as using a different parking area.
Check what needs a reservation
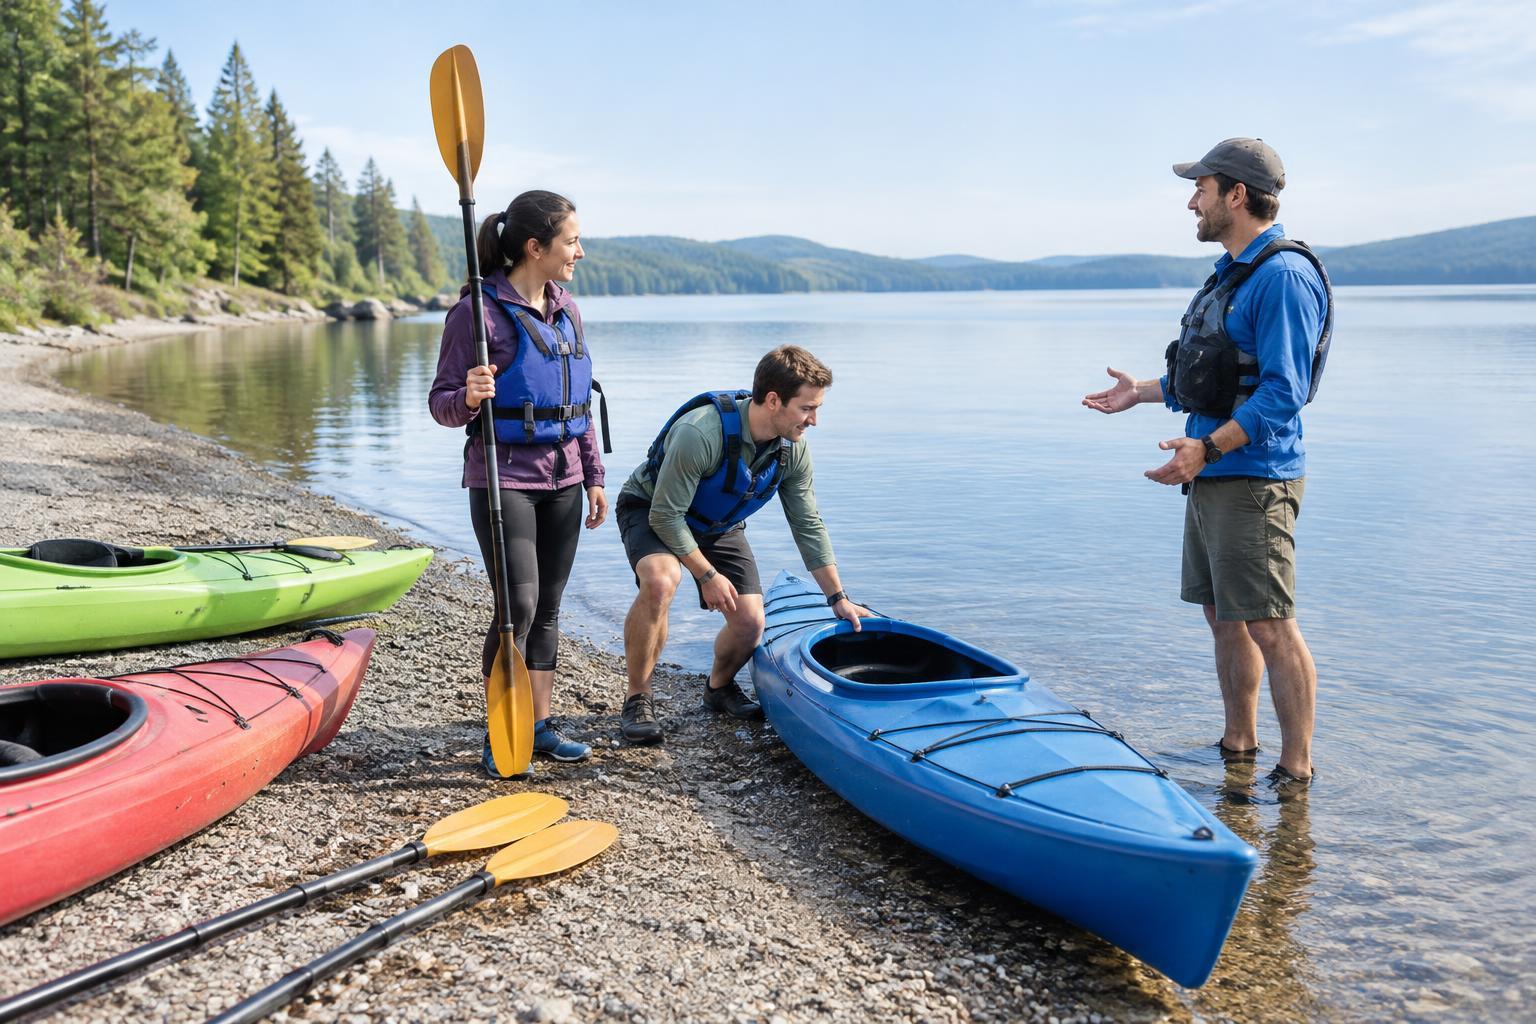
Do not assume that an entry fee guarantees access whenever you arrive. Some parks use timed entry, vehicle reservations or bookings for campsites, guided activities and popular facilities. Check whether the requirement applies to the whole park or only to your chosen area. Note the arrival window, group-size limits and whether you need to show a confirmation or identification.
If you book, read the cancellation and change rules before paying. Put the reservation details somewhere you can reach without a connection, and make sure everyone traveling with you knows the arrival plan. If no suitable slot is available, choose another date or a nearby park rather than counting on entry at the gate.
Match the facilities to your group
Check the practical basics: restrooms, drinking water, picnic tables, shade and places to refill a bottle. A map can show where these are in relation to your route, but confirm whether they are available during your visit. If water is uncertain, bring enough for your outing instead of planning to find a fountain. For a longer visit, find out whether food is sold nearby or whether you need to bring a meal.
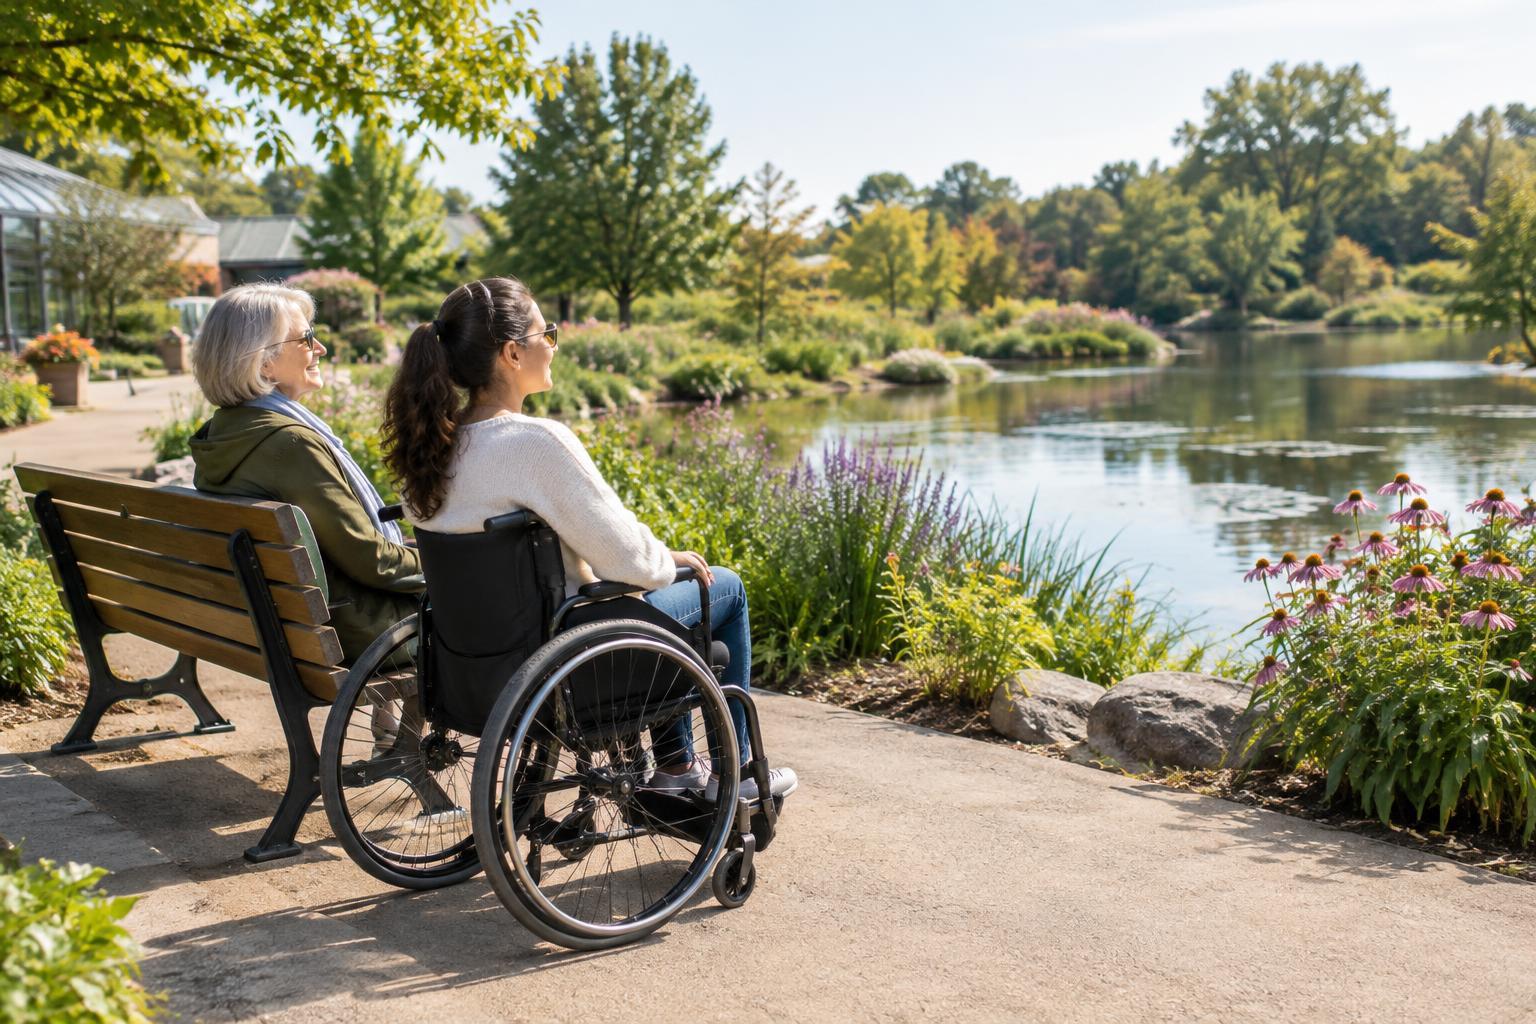
Think about what each person needs to enjoy the day. Look for information on path surfaces, distance, slopes, accessible parking and restrooms rather than treating a trail label as a complete description. If you are bringing children, a stroller, a bicycle or a dog, check the rules for the specific paths and facilities you plan to use. Pets may be allowed in one area and restricted in another.
Make a simple day-of plan
Check the weather forecast and any posted trail or road notices before setting out. Choose a route that fits the time and energy you have, then identify a shorter option if conditions are less comfortable than expected. Tell someone outside your group where you plan to go if you will be away for a while, and carry the essentials you are likely to need: water, suitable shoes, weather-appropriate layers and a charged phone.
Leave enough time to park, find the entrance and return before closing. At the park, follow posted signs even if they differ from what you read earlier. Stay on permitted routes and take your rubbish with you. With fees, bookings and basic facilities settled in advance, you can spend less of the visit solving problems and more of it enjoying the place.