Start with the measurements that matter
Sizes vary between brands and sometimes between styles from the same brand. A tape measure gives you a better starting point than the letter or number on a label. You will need a flexible measuring tape, a mirror, and somewhere to save your results. If you do not have a flexible tape, wrap a piece of string around the area, mark where it meets, and measure the string against a ruler.
Measure over the undergarments or thin layers you expect to wear with the item. Stand comfortably, breathe normally, and keep the tape level and snug without pulling it tight. For chest or bust, measure around the fullest part. For your natural waist, measure around the narrowest part of your torso, often above where your trousers sit. For hips, measure around the fullest part of your seat. Take each measurement twice and record the result in the units used by the chart you plan to consult.
Depending on what you are buying, you may also need an inseam, sleeve length, or shoulder width. For an inseam, it is often easiest to measure a pair of trousers whose length you like, from the crotch seam down the inside leg to the hem. Write down whether each number came from your body or a garment: the two are not interchangeable.
Check what the size chart actually measures
Before choosing a size, look for the chart attached to the specific item. A general brand chart may be useful, but a product-specific chart can better reflect the cut of that garment. Check whether it lists body measurements, which tell you whom the garment is designed to fit, or garment measurements, which describe the clothing itself. The page may also offer both.
When using a body-size chart, find the row that accommodates your relevant measurements rather than assuming your usual size will work. A top may depend most on chest or bust and shoulders, while trousers may require closer attention to waist, hips, and inseam. If your measurements land in different rows, use the area where a poor fit would be hardest to alter or most uncomfortable. A relaxed shirt may have room at the waist; trousers that are too tight at the hip will be less forgiving.
Check the units before comparing numbers. If you measure in inches and the chart uses centimeters, convert one set so you are comparing like with like. Also read any fit notes: terms such as cropped, oversized, slim, or high-rise tell you what the numbers alone may not.
Use a favorite garment as a reality check
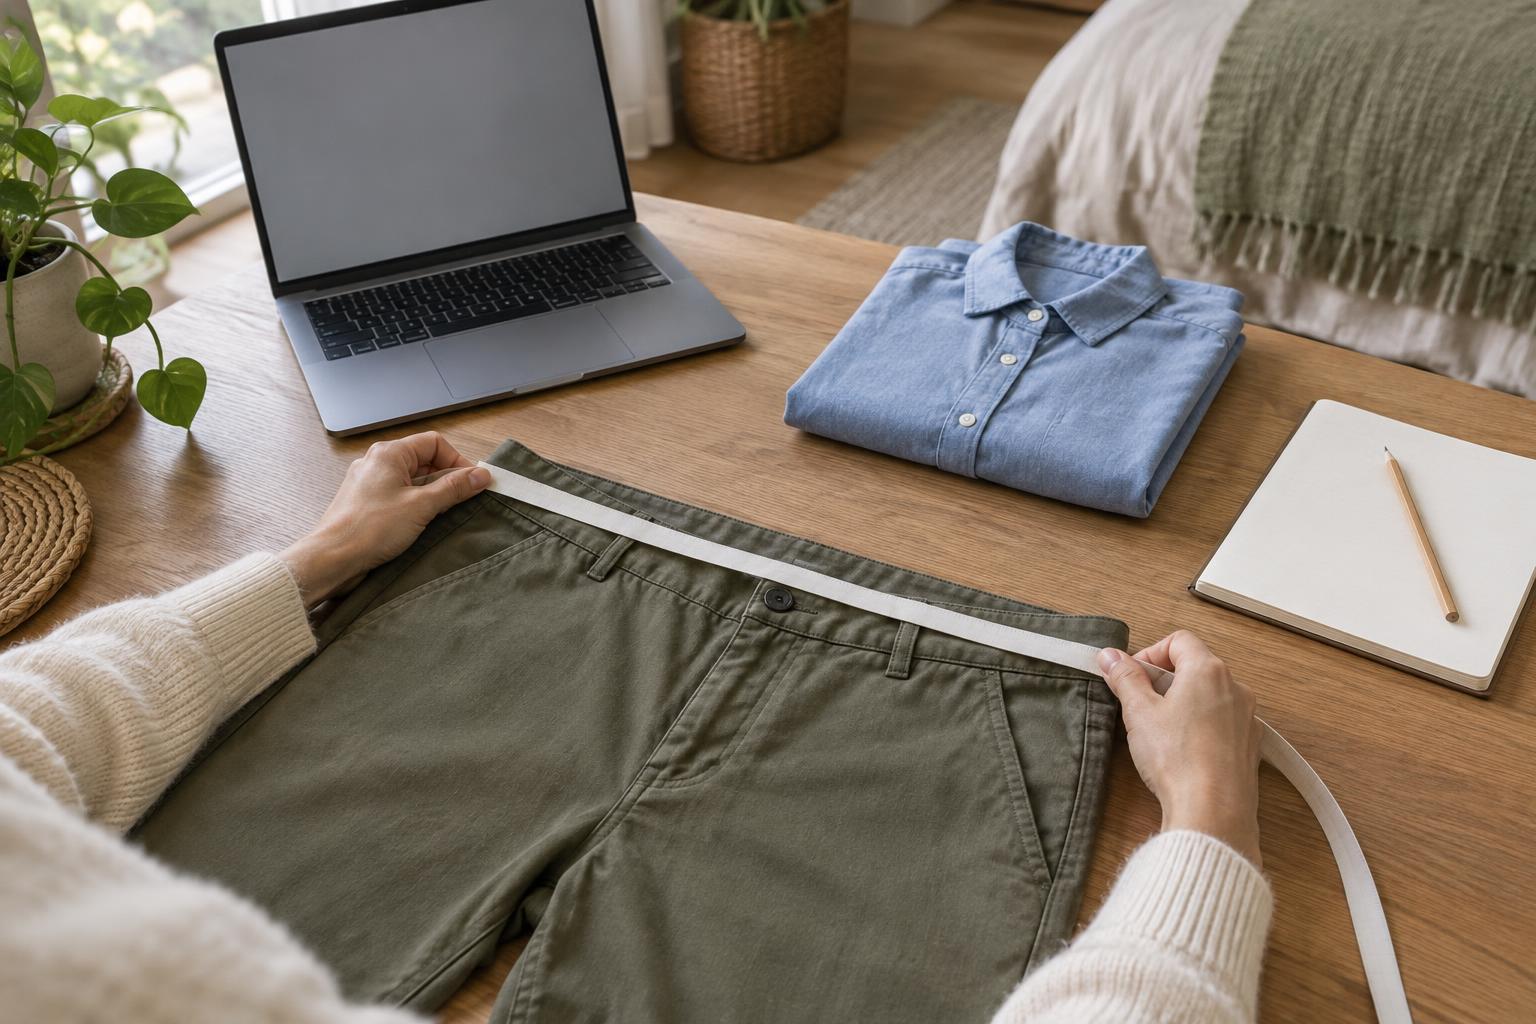
A piece you already wear can help you judge the fit you actually enjoy. Lay it flat without stretching it and measure across the chest, waist, or hips, then double those widths to estimate the full circumference. For trousers, you can also measure the rise from the crotch seam to the top of the waistband, along with the inseam and leg opening. Compare these numbers only with a chart labeled as garment measurements.
Allow for the fact that fabric and cut change how a measurement feels. A stretchy knit may fit comfortably at a smaller measurement than a rigid woven fabric. Two shirts with the same chest width can feel different if one has narrow shoulders or higher armholes. If the product page gives a fabric description and photos from several angles, use them alongside the chart rather than treating any single number as a guarantee.
For a lower-cost experiment, measure one item you love and one you rarely wear. The difference may show that you prefer, for example, a longer shirt, a roomier thigh, or a higher rise. Keep those preferences in your notes; they can be more useful than collecting every possible body measurement.
Decide what to do between sizes
If you fall between sizes, consider the garment’s shape and how you want to wear it. For a fitted, non-stretch item, choosing the larger size may leave more room for movement. For an intentionally loose item, the smaller size might still give you the look you want. Think about layers, too: a jacket worn over a sweater needs different room than one worn over a T-shirt.
Before ordering, check the listed garment length and compare it with something you own. A size can fit around your body yet still feel wrong because the sleeves, hem, or rise sit somewhere unexpected. If the decision remains close, review the return or exchange terms before buying. That matters especially when trying a new brand or a cut you have never worn.
Keep a simple fit record
Save your measurements in a phone note with the date you took them, plus a few garment measurements from clothes that fit well. Add short observations after purchases: “shoulders good, sleeves long” is more helpful next time than “size medium.” Recheck your measurements when your fit preferences change or when an older number no longer seems useful.
The goal is not to force yourself into a consistent size. It is to make an informed choice about a particular piece of clothing. A tape measure, the right chart, and one familiar garment can turn a confusing size label into a practical comparison.