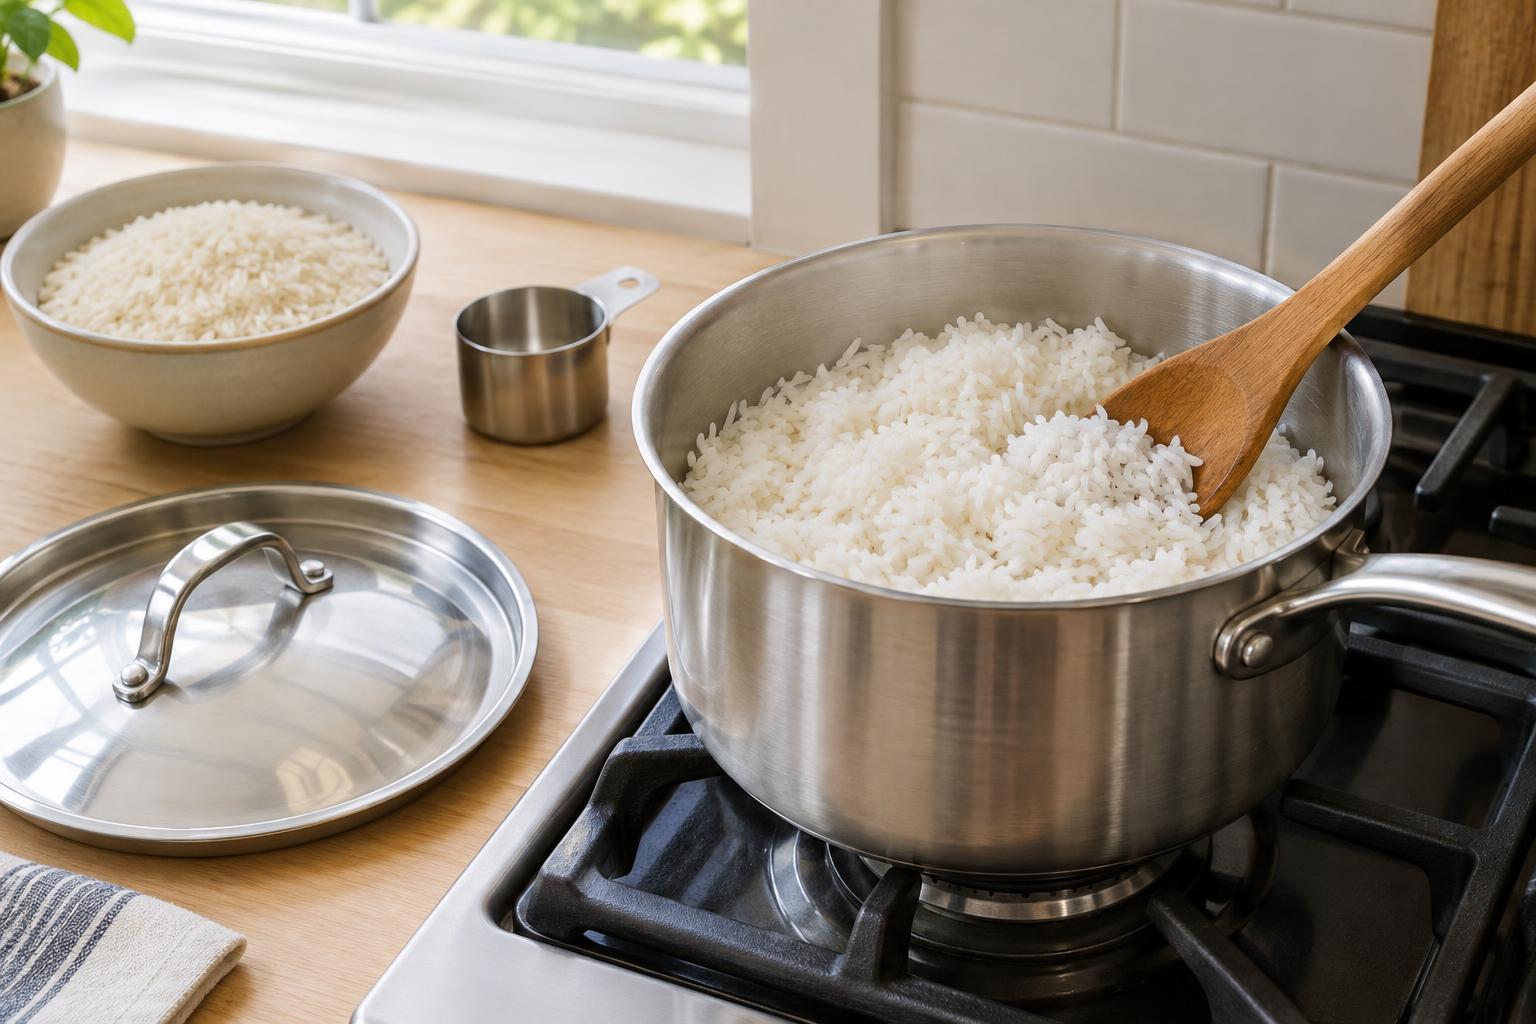
Start with one type of rice and one ratio
Rice instructions can seem inconsistent because different varieties absorb water differently. For a reliable starting point, use ordinary long-grain white rice: measure 1 cup of dry rice and 1½ cups of water. This makes roughly enough for two or three side portions. Use the same measuring cup for both ingredients, and choose a small saucepan with a lid that fits snugly. A pot that is much too large can let the water evaporate quickly.
This ratio is a starting point rather than a rule for every bag of rice. Jasmine, basmati, short-grain and brown rice may need different amounts of water or cooking times. If the package gives specific directions, try those first. Once you find a result you like, note the rice, pot and ratio you used. Repeating the same setup is more useful than trying to judge the water level by eye.
Measure, rinse and bring to a boil
Put the rice in a fine-mesh strainer and rinse it under cool water until the runoff looks less cloudy. Rinsing removes some loose surface starch, which can help the grains stay separate. Let the rice drain well so the rinse water does not noticeably change your measured ratio. If you prefer softer, slightly stickier rice, you can skip the rinse; just keep that choice consistent from batch to batch.
Add the drained rice and measured water to the saucepan. A pinch of salt is optional. Bring the water to a gentle boil over medium-high heat, then stir once to make sure no rice is clumped at the bottom. As soon as it boils, turn the heat to low and cover the pot. The goal is a quiet simmer, not vigorous bubbling that pushes steam out from under the lid.
Keep the lid on, then let the rice rest
For long-grain white rice, set a timer for 15 minutes after you lower the heat. Avoid lifting the lid or stirring while it cooks. Both let steam escape, and stirring can break the grains and make the rice gummy. At the end of the timer, briefly check the pot: the water should be absorbed and the rice should look tender. If you see water pooling, replace the lid and cook for another two or three minutes.
Turn off the heat and leave the covered pot alone for 10 minutes. This rest gives moisture time to settle through the rice. Then lift the lid and gently fluff with a fork, working from the edges toward the center. If your stove runs hot, moving the pot off the burner during the rest can help prevent a toasted layer on the bottom.
Adjust the method for brown rice
Brown rice still has its outer bran layer, so it generally takes longer to soften than white rice. For ordinary long-grain brown rice, try 1 cup of rice with 2 cups of water. Bring it to a boil, cover, reduce the heat to low and begin checking for tenderness after about 35 minutes. It may need closer to 45 minutes, depending on the rice and your stove. Give it a covered 10-minute rest before fluffing.
If the grains are firm when the water is gone, add a few tablespoons of water, cover and cook a little longer. If they are tender but water remains, drain the excess carefully. Quick-cooking, converted and specialty rice are different enough that their package directions are the better guide.
Fix the next batch, not just this one
If the rice is crunchy and the pan is dry, add a small splash of water, cover and cook on low for a few more minutes. If it is wet or overly soft, remove the lid briefly to let steam escape, then fluff gently. Rice that repeatedly sticks or scorches may need a lower burner setting, a heavier pot or a shorter cooking time. Rice that repeatedly comes out too firm may need a little more water.
Change only one thing on your next attempt—such as adding two tablespoons of water per cup of dry rice—so you can tell what helped. Once you have a dependable batch, use it as a base for inexpensive, flexible meals: add an egg and vegetables, serve it beside beans, or spoon a simple stew over it. Cool leftovers promptly and refrigerate them in a covered container rather than leaving cooked rice on the stove.